Food fundamentally draws people to congregate, talk, interact, update and, of course, share dinner together. So, no surprise, the kitchen also tends to be the busiest room in a home as well in most cases.
Given all that attention, it makes sense that the lighting is up to par, especially with all the prep work that has to occur creating meals every day. And the common kitchen design with an island creates the demand for kitchen island lighting, a carryover from the days of hanging candlelight brackets and ship lamp lighting.
Kitchens, unlike entertainment rooms or bedrooms, need plenty of light and clear illumination. That last thing anyone wants to be doing is chopping vegetables in the dark with barely visible lighting. Island lighting brings the illumination right on top of the workspace a home cook uses for prep work, distribution and cleanup. So, choosing the right lighting is important, both for function as well as looks and aesthetics.
Kitchen island lighting generally comes in three categories. These include:
In most cases, kitchen island lighting is going to be positioned directly overhead above the island area. Wall-mounted lights and similar just don’t have the reach or the coverage to be as effective, and anything hanging too low would get in the way of someone’s head walking by.
Instead, the goal is to create a powerful enough light stream from the top down that the user can see everything in front of them clearly. Of course, some folks may choose to use accent lighting or different bulb colors for mood-setting, but a functional kitchen needs solid, strong white light.
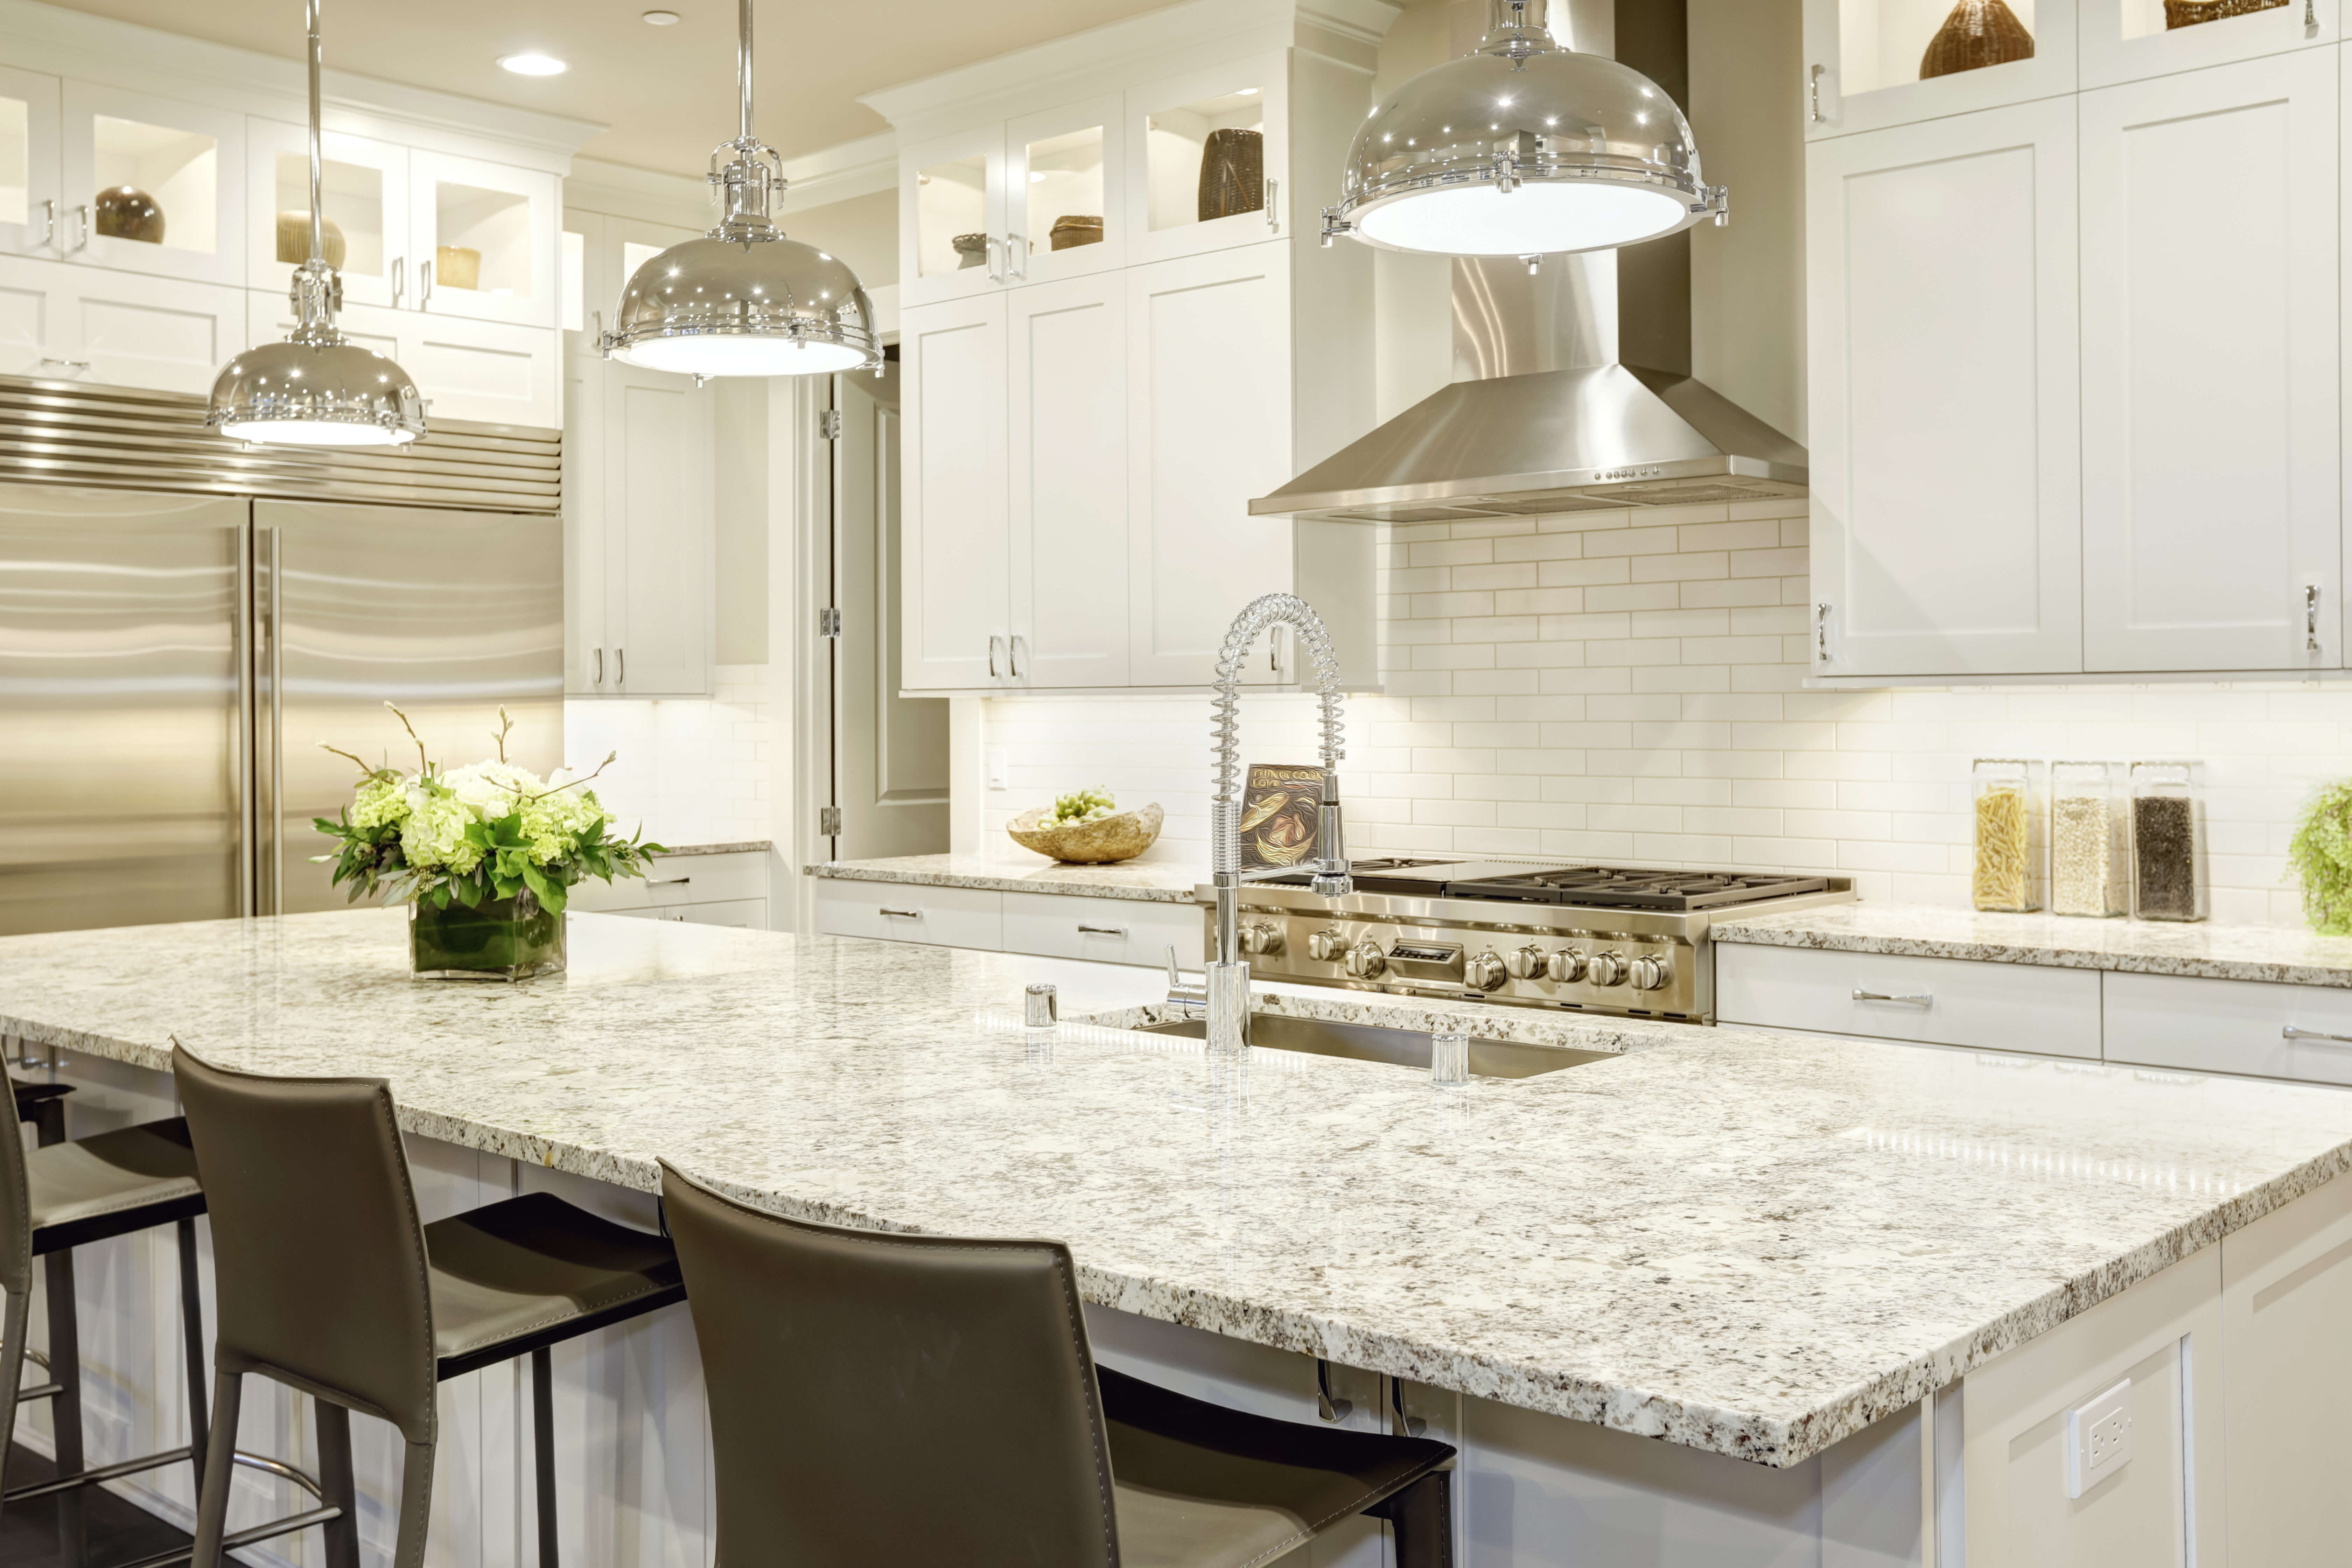
Two primary structures tend to be used: either a hanging approach from the ceiling closer to the work area but still above the headspace for safety, or ceiling level lighting with powerful bulbs. The hanging style has a variety of models to choose from including chandeliers, individual lanterns, liner clusters, pendants and similar. Hanging lights tend to work better when the ceiling is fairly high up and there’s a lot of space to the kitchen below.
The hanging structure brings the light closer, increasing its intensity versus a light installed at the ceiling level in these cases. The ceiling style can be individual recessed can units, track lighting, or very basic dome lighting. These choices tend to work better when the ceiling is low to the kitchen and there’s not that much headspace between the island the ceiling layer above it.
In some cases, the kitchen island actually has high level cabinetry above it. With this available, a third option comes into play, which can be under-cabinet lighting. This solves the problem the cabinets blocking the ceiling and also being too low to hang anything from. Instead, the under-cabinet installation works the same ways as a hanging light with the source close to the island workspace, but the lights themselves don’t get in the way of the limited workspace below. LED-style bulbs work better for this choice.
As much as the choice of kitchen island lighting tends to be a personal one, there are some guidelines to follow given the typical setup of a kitchen layout.
If you’re going to take the approach of a single main light source hanging over an island, it needs to be close enough from the ceiling to flood the area with strong, reliable light. That means, the light source when suspended from the ceiling should be likely somewhere in the range of seven feet from the ceiling if using a high vault, and probably closer to three feet in lower ceilings.
The lighting bulb spray should be something in the neighborhood of 18 inches for every 80 square feet. These are rules of thumb, and actual room needs can vary considerably.
If the lighting is going to be recessed over the kitchen island, canned recessed lamps tend to be the most common. They should be in a position directly vertical over the island, and spaced out every three feet. They should also be able to handle a high wattage bulb for good light display. Most installations tend to rely on a six inch can choice for kitchens. And, of course, the can assembly should be the same color as the ceiling so they blend in versus standing out garishly.
With individual hanging pendant style lamps, they can work in either tall ceilings or lower ones. The variation comes in just how long the suspension cable or chain will be. The pendant itself holding the bulb should be at maximum 34 inches above the work table area. The pendant cover will block the bulb from blinding the user, focusing the light directly downward, but it will be noticeable.
Pendants should be spaced out every two feet over the island area, centered over the middle of the island. The standard installation approach is to use the same pendant style for each light over the island, but some creative types apply a mix and match approach with twos and threes.
Ever seen an oddball chandelier/bracket island lighting assembly and wanted the same thing for your home? There are plenty of unique ones out there, but you’re not likely to find them in consumer stores. While these unique assemblies like deer stag horn lighting assemblies, cast iron grid brackets, and pirate galley style lighting tend to get a lot of photographs in home magazines, they are one-offs and hardly sold in regular retail home décor stores.
In most cases, folks have had the particular lighting assembly hand-crafted for them by a particular artists for thousands of dollars to have that unique look no one else can find and buy. So, while they definitely do exist, most stores and suppliers don’t carry these kitchen island lighting choices.
When choosing island lighting, it’s a good idea to first study and understand what kind of options you really have with the ceiling structure above the island. In many homes, the standard lighting provided by the original builder tends to be recessed can lighting positioned strategically over the island. These units are extremely lightweight, and simply get anchored to a singular cross bean running horizontal across the ceiling and covered up by drywall. That doesn’t mean the same location may be just fine for a heavier lap to hang from.
Situating an elaborate island lighting system could mean probing and understanding exactly where the cross beams are in your ceiling that can take the weight. Alternatively, you may find switching from the existing light to your choice of pendants or smaller units may leave big holes in the ceiling from where the original lighting was located. That means drywall work and painting to clean up what used to exist.
So, consider if you’re going to make big changes, what remodeling services might be needed to make the new lighting possible. That includes electrician work to rewire the lighting to your new units from the old ones as well. When you add up the numbers, what might have looked like a simple changeout could be hundreds of dollars in additional interior work.
If a room has a very high ceiling and the island kitchen lighting will be suspended, make sure the support chain comes down far enough or can be lowered when you need to change the bulbs. This mundane but often overlooked issue ends up being figured out when, after installation, the lighting system does need to be maintained, and the owner can't easily reach the bulbs.
That then requires situating a ladder and, hopefully, it's high enough to reach the bulb sockets in the handing apparatus. If not, and the lamp can't be lowered, it could become a bit of a headache on a regular basis.
Most kitchen lighting tends to be far enough up that steam and moisture aren’t much of a problem. However, some cooks really pump out the works with rice-cookers, steam-generating boiling, and similar, especially if the island also has a cooking range built in. If the lamp is too close to the steam source there is a chance of moisture build-up which can cause the light to short out and blow the circuit fuse.
This is one of the reasons why all the sockets in a kitchen include their own circuit breaker. Knowing your style of cooking, think about how close the lamps will be to actual steam production. Anything in the range of 30 inches or closer is going to be an issue when a lot of steam is produced regularly.
It never hurts to ask an expert for advice before making a big change in your kitchen. Especially with lighting, too many changes can create an additional load on the kitchen circuits, sometimes far more than they were designed for. Without adjustments to the wiring and the master panel circuit breaker fuse box, the new lighting could cause things to pop, heating up a particular line far too much. Frequent fuse blowing is a signal that things need to be fixed and modified for a greater load. Of course, going with fewer wattage bulbs compensates for this, such as LEDs, but then a user has to determine if the lighting is sufficiently powerful from such alternatives as well.
A qualified electrician can easily give a homeowner a good idea what they are looking at currently, what's possible, and what might need to be changed with a new lighting system being considered. Remember, planning well beforehand is always cheaper than fixing big mistakes after everything is bought and installed.